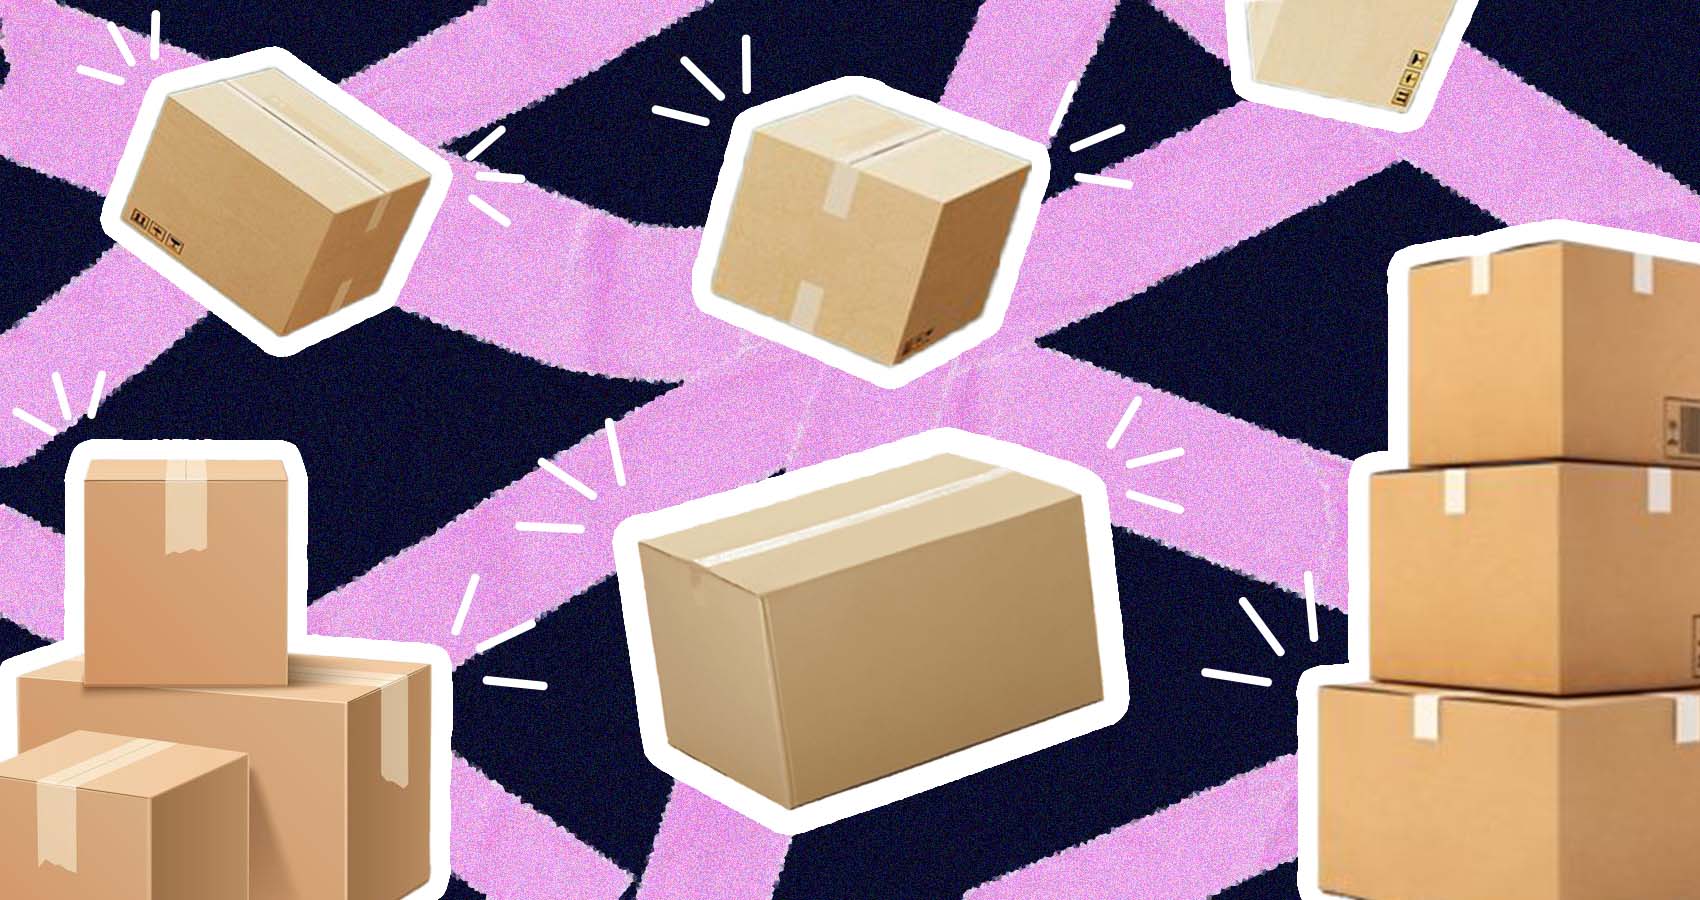
How to Apply Carton Sealing Tape Correctly: Step-by-Step Guide for Packaging
Ensure secure packages with these carton sealing tape tips.
Applying carton sealing tape correctly ensures that your packages remain secure during storage and transit. Poorly sealed cartons can lead to damaged goods, increased returns, and a negative customer experience. Follow this step-by-step guide to apply carton sealing tape effectively and achieve optimal packaging results.
Step 1: Choose the Right Carton Sealing Tape
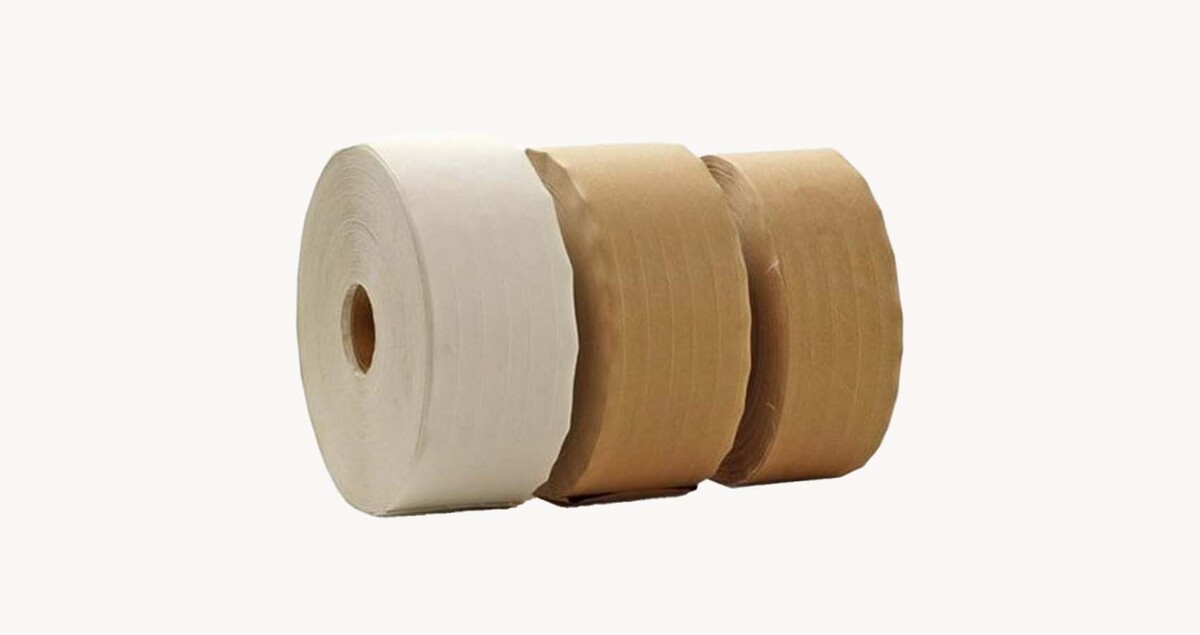
Before you begin, select a tape that suits your packaging needs. Consider factors such as:
-
Tape material: Choose between polypropylene, PVC, or reinforced tape based on the weight and fragility of your items.
-
Tape width: Wider tapes provide better coverage for larger boxes.
-
Adhesive strength: Strong adhesives are ideal for heavy or high-value items.
-
Environmental factors: Opt for weather-resistant tape if the package will be exposed to varying temperatures or humidity.
Step 2: Prepare Your Packaging Area
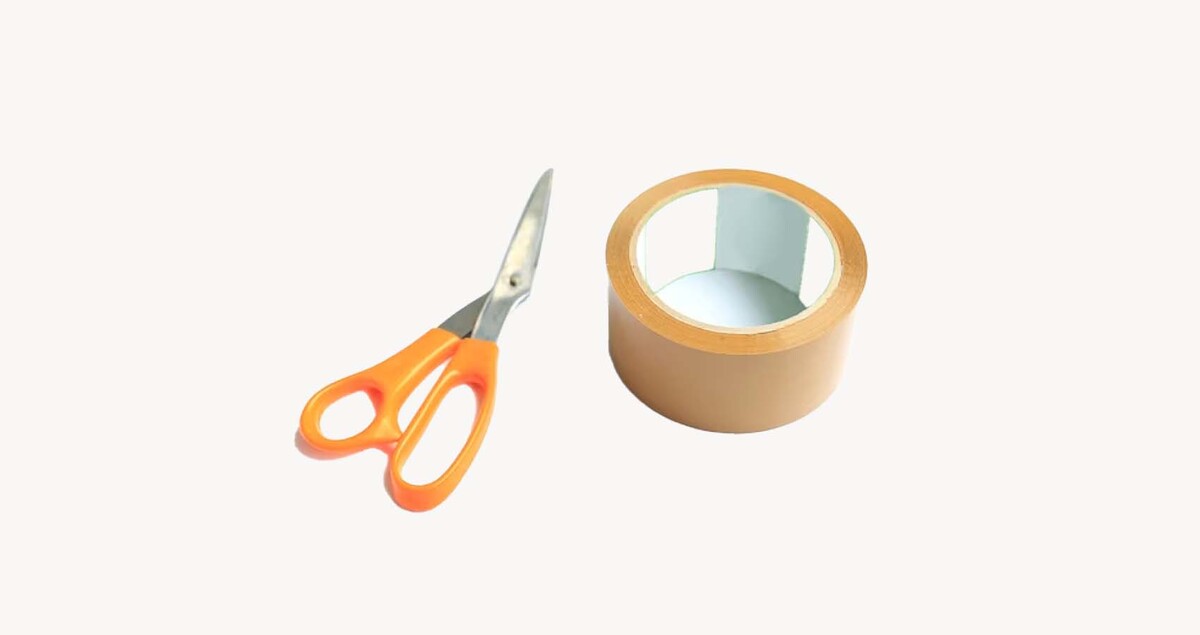
A clean and organized workspace is essential for efficient packaging. Ensure that:
-
The surface where you’ll apply the tape is clean and dry.
-
You have a sharp utility knife or tape dispenser handy.
-
The carton is free of dust or debris for better tape adhesion.
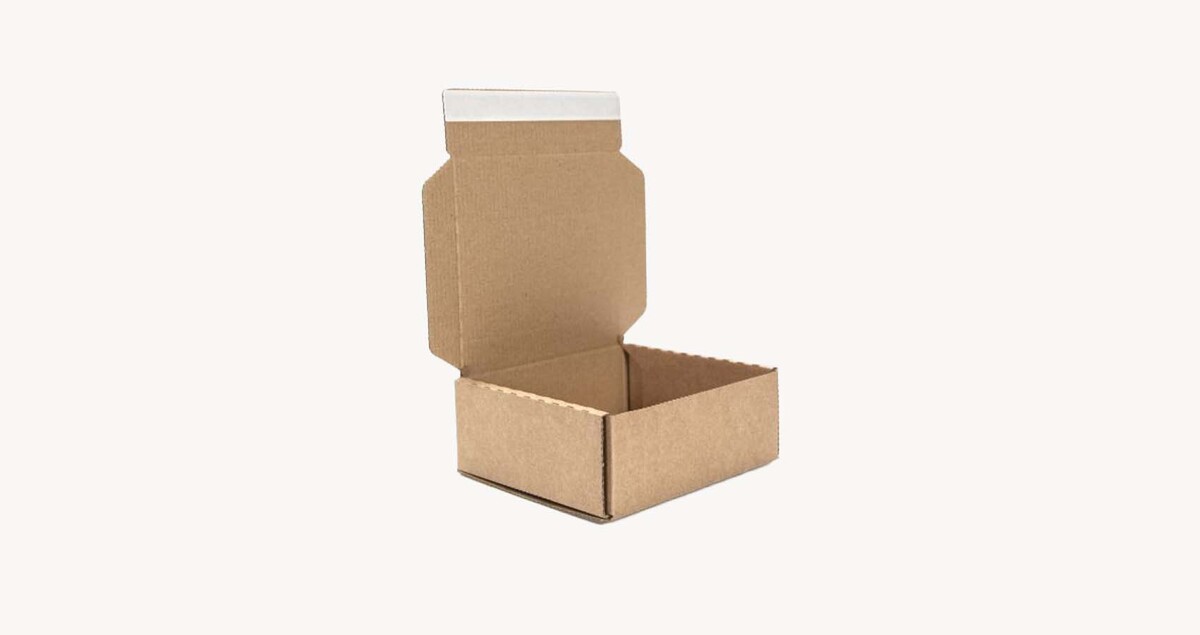
Step 3: Assemble the Carton
-
Open the carton and ensure it’s properly folded along the scored lines.
-
Seal the bottom flaps first by folding the smaller flaps inward, followed by the larger flaps.
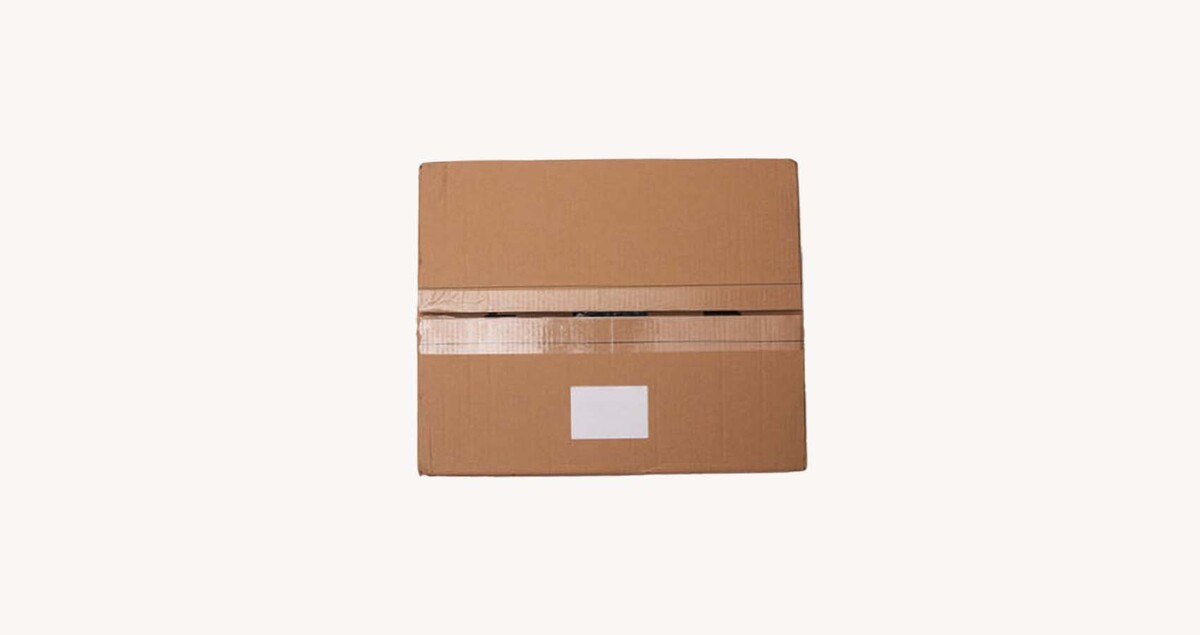
Step 4: Apply Tape to the Bottom Flaps
To secure the bottom of the box:
-
Center the tape along the seam where the flaps meet.
-
Extend the tape 2-3 inches beyond the edges for added security.
-
Press the tape firmly onto the carton, ensuring no air bubbles or wrinkles.
-
If the box is heavy, apply two additional strips of tape in a perpendicular cross pattern for extra support.
Step 5: Fill the Box
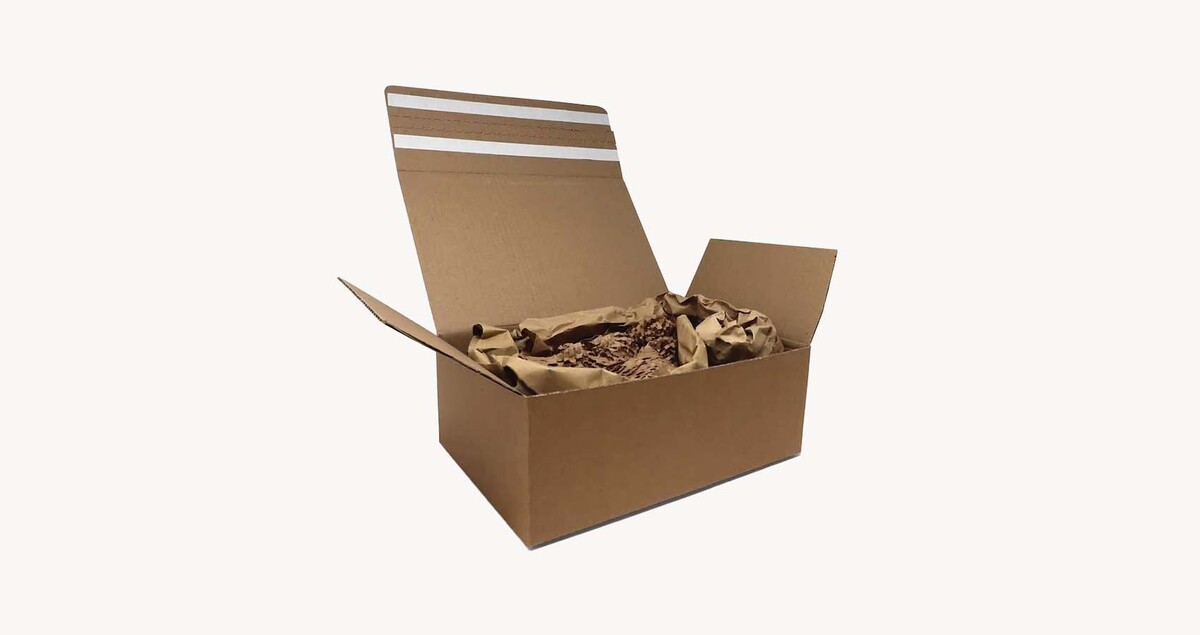
Place your items inside the carton. Use protective materials such as bubble wrap, packing peanuts, or foam to prevent shifting during transit. Ensure the box is not overfilled, as this can strain the tape and weaken the seal.
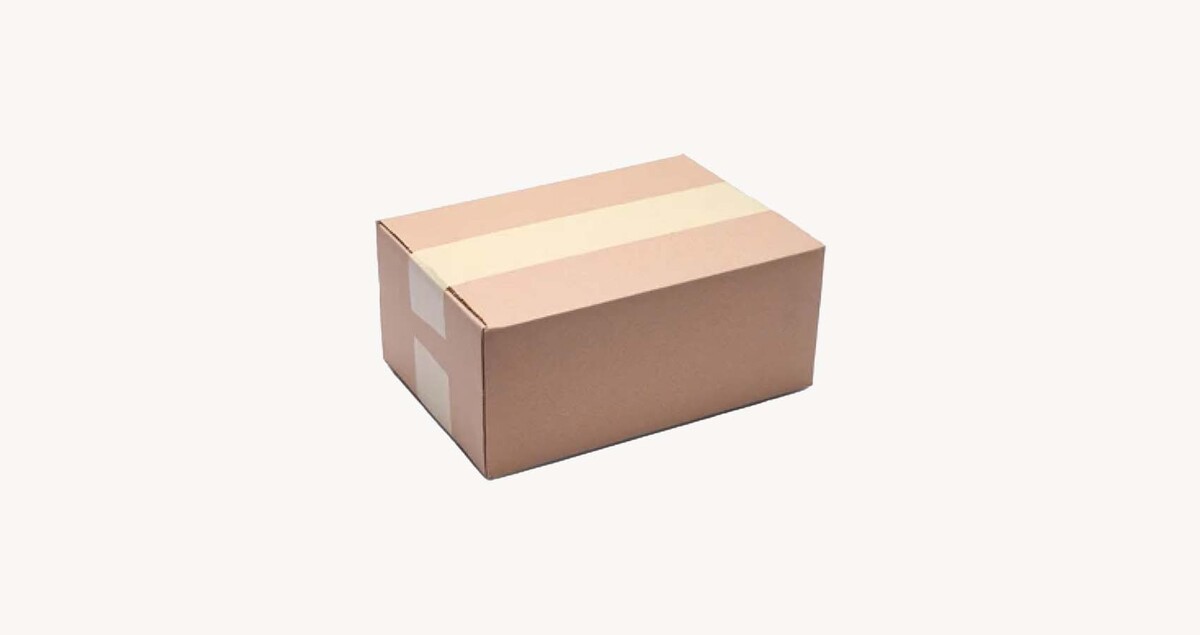
Step 6: Close and Seal the Top Flaps
-
Fold the top flaps in the same order as the bottom flaps: smaller flaps first, followed by larger flaps.
-
Repeat the taping process, centering the tape along the seam and extending it beyond the edges.
-
Apply additional strips of tape in a cross pattern if the contents are heavy.
Step 7: Check for Proper Adhesion
Inspect the sealed box to ensure:
-
The tape is firmly pressed down and adheres fully to the surface.
-
No gaps or loose areas are present.
-
The carton feels secure and does not bulge.
Step 8: Label the Box
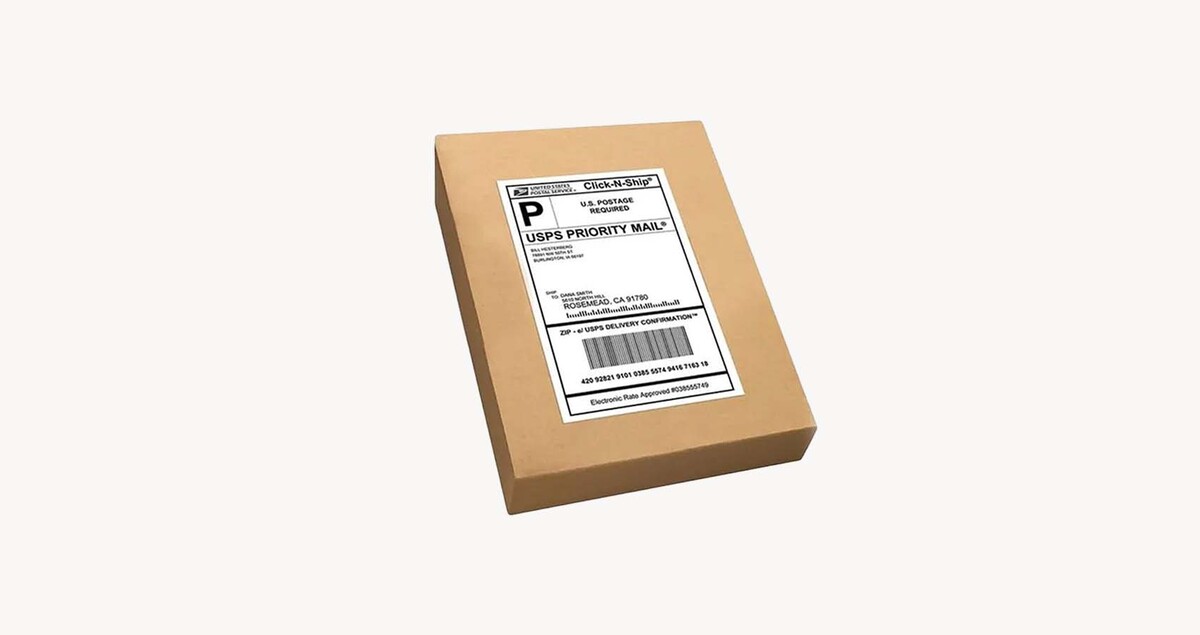
Once the box is securely sealed, affix any necessary shipping labels. Place the label on a flat surface to ensure it remains legible and scannable.
Pro Tips for Efficient Tape Application
-
Use a tape dispenser: A handheld or automatic tape dispenser speeds up the process and ensures a clean, even application.
-
Apply even pressure: Press down firmly while applying the tape to eliminate air pockets.
-
Store tape properly: Keep rolls of tape in a cool, dry place to maintain adhesive quality.
-
Test for strength: Conduct a quick tug test to confirm that the tape holds securely.
Common Mistakes to Avoid
-
Using insufficient tape: Skimping on tape can lead to box failure.
-
Overlapping multiple layers unnecessarily: This can waste tape and create uneven surfaces.
-
Not cleaning the carton surface: Dust or grease can prevent the tape from adhering properly.
Conclusion
Correctly applying carton sealing tape ensures the safety and integrity of your packages. Following these steps and tips can improve your packaging efficiency and deliver a better customer experience. Whether shipping products or storing items, mastering this skill is necessary for any business or individual handling packages.