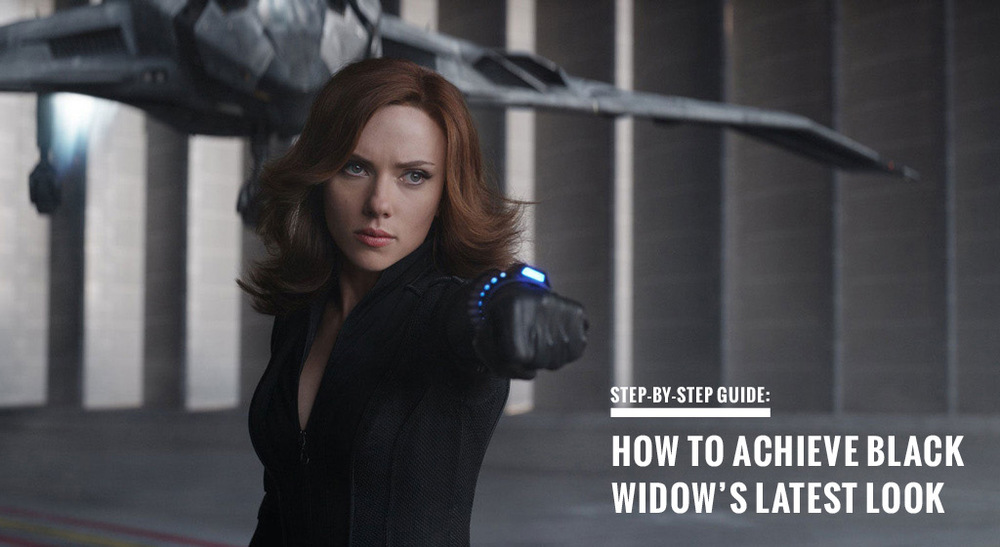
Get The Look: Black Widow’s ‘Civil War’ Hair
A Step-by-Step Guide to Achieve Black Widow’s Latest Look
1. Color
Black Widow is known for her distinctive red hair. If you aren’t a natural redhead, no problem! Here’s some tips to get those same gorgeous red tones.
Don’t try to do it yourself. It may seem cheaper and easier short-term, but in the long run it can be damaging for your hair as well as giving you an undesirable result. When you use a box color for reds the first time, it can look great. After about four or five uses, your roots still look like you want, but you’ll notice that as you go down a strand of your hair it gets a darker and darker shade, with the ends being almost black. This happens because box colors get applied with the same color formula over both your natural hair and your previously colored hair, and what works for one won’t work for the other if you’re going for a nice even tone.
Let’s take a closer look at her color:

Notice how it gets just a tiny bit lighter as you go from the roots to the ends? It’s very subtle, but her hair starts more auburn and then gets slightly lighter and lighter until it’s almost a dark strawberry blonde by the ends. When talking to your stylist, use words like ânatural.â The subtlety is key here. You only need to go a shade or two lighter at the ends to achieve this look, so avoid using words like âombre,â as that is usually used to describe a much more noticeable color shift.
2. Cut
For this cut, you’ll want your hair to be at least shoulder length or longer, with just a tiny amount of layering at the ends and slightly framed around your face. If you keep it below about collar bone length, you’ll have harder time achieving the right look with the curls. The extra weight of the longer hair will cause you to lose volume. If your hair isn’t quite as long as you need it to be for this cut, you can also adapt it into a layered bob cut. If you plan on growing it out into this shape, form a plan with your stylist to keep it looking great as it’s growing.
3. Styling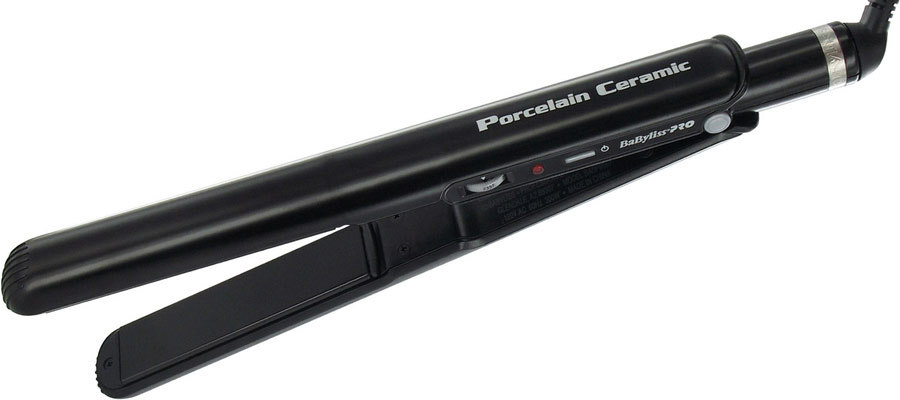
The easiest way to achieve this look at home is with a flat iron. Start with a large ceramic one with a beveled edge. I recommend a Babyliss Pro, but any professional quality curling irons where you can control the temperature setting will work. If you have fine hair, start with the lowest setting. Medium hair, use a medium setting. Coarse hair, use a higher setting.
Before flat ironing, apply a heat styling protector to your hair and make sure it is completely dry. Work in horizontal sections starting with the bottom and pin the rest of your hair up to keep it out of your way.
Start by flat ironing your hair straight down from the root, then curl it around the flat iron starting from the middle of your section and going down to the ends. Curl in the direction away from your face. Make sure to keep the flat iron moving, since holding it on one spot of your hair for too long can cause heat damage. Once you’ve let all your sections of hair down and all the curls are in place, let your hair cool for a few minutes, then run your fingers through it lightly and set your curls with a light hold hairspray.
4. Products
Maintaining reds can be a delicate balance, so using the right shampoo and conditioner is vital to avoid fading. A professional shampoo and conditioner system that is made for color-treated hair is a must. Some great examples of this are Redken’s Color Extend and Matrix’s Color Last. Pureology even has a system called Reviving Red that’s made specifically for redheads.
For heat styling, a good heat protector is essential. A personal favorite is Sexy Hair’s 450 Degree Blowout. Use this spray when your hair is wet, then blow dry it in to protect your hair up to temperatures of 450 degrees. Some heat protectors are meant to be used on wet hair and others are meant to be used on dry hair, so it’s important to read the directions on your heat protector to know when to use it. Paul Mitchell Soft Spray works well for finishing touches. When used sparingly, it’ll give you a light, touchable hold without feeling crunchy. Hold the bottle about half an arm’s length away from your head to give you the best coverage without using too much spray.

5. Maintenance
Reds are infamous for fading quickly, but with proper maintenance you can get the most out of your color. Wash every two to four days. If you can get away with it without feeling too oily at the scalp, try for three or four days. Not only will this keep your red looking vibrant longer, but it’ll help your curls hold better too.
As far as salon trips go, depending on how fast your hair grows you’ll need to visit your stylist every four to six weeks for a touch up on the cut and color. Every other time you visit, have them refresh your pre-existing color.
Have fun experimenting with your new style! Black Widow has had a lot of different looks over the years, so don’t be afraid to switch it up every now and again.
Next Up, Here Is Why Mullets Are Back On The Rise