Easy Paper Folds For Diy Journals And Simple Book Cover Ideas
Simple paper folding techniques and a step-by-step guide to making a diy journal cover.
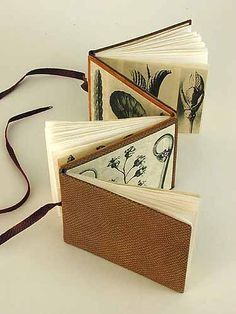
Creating a DIY journal is a fun and rewarding craft project that allows for creativity and personalization. One of the essential steps in making a journal is folding the pages, and there are a few simple yet effective paper folds that can help you bind your pages easily. Additionally, making a sturdy and decorative book cover adds a professional touch to your handmade journal. Here’s a guide to the easiest paper folds for DIY journals and how to make a simple book cover.
Easy Paper Folds for DIY Journals

1. Single Fold (Half-Fold or Book Fold) Best for: Simple booklets or softcover journals
How to fold: Take a standard sheet of paper and fold it in half widthwise (short edge to short edge). Crease the fold firmly using your fingers or a bone folder. Stack multiple folded sheets together to create the journal pages. Staple or sew along the fold to bind them.
2. Accordion Fold (Zig-Zag Fold) Best for: Creative journals, scrapbooks, or interactive notebooks
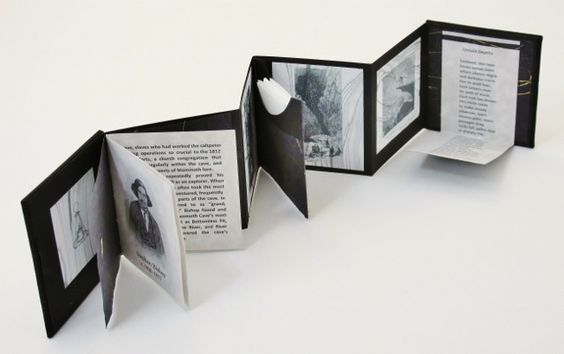
How to fold: Start with a rectangular sheet of paper. Fold the paper in half lengthwise (long edge to long edge) and crease. Unfold, then fold each half inward to meet the centre fold. Continue folding back and forth like a fan. Stack multiple accordion-folded sheets together for a unique, unfolding journal.
3. Pamphlet Fold (Three-Fold or Tri-Fold) Best for: Small travel journals or pocket notebooks
How to fold: Take a sheet of paper and fold it into three equal sections. Fold one side in, then the other, overlapping slightly. Stack multiple tri-folded pages together and stitch or staple along the side to bind.
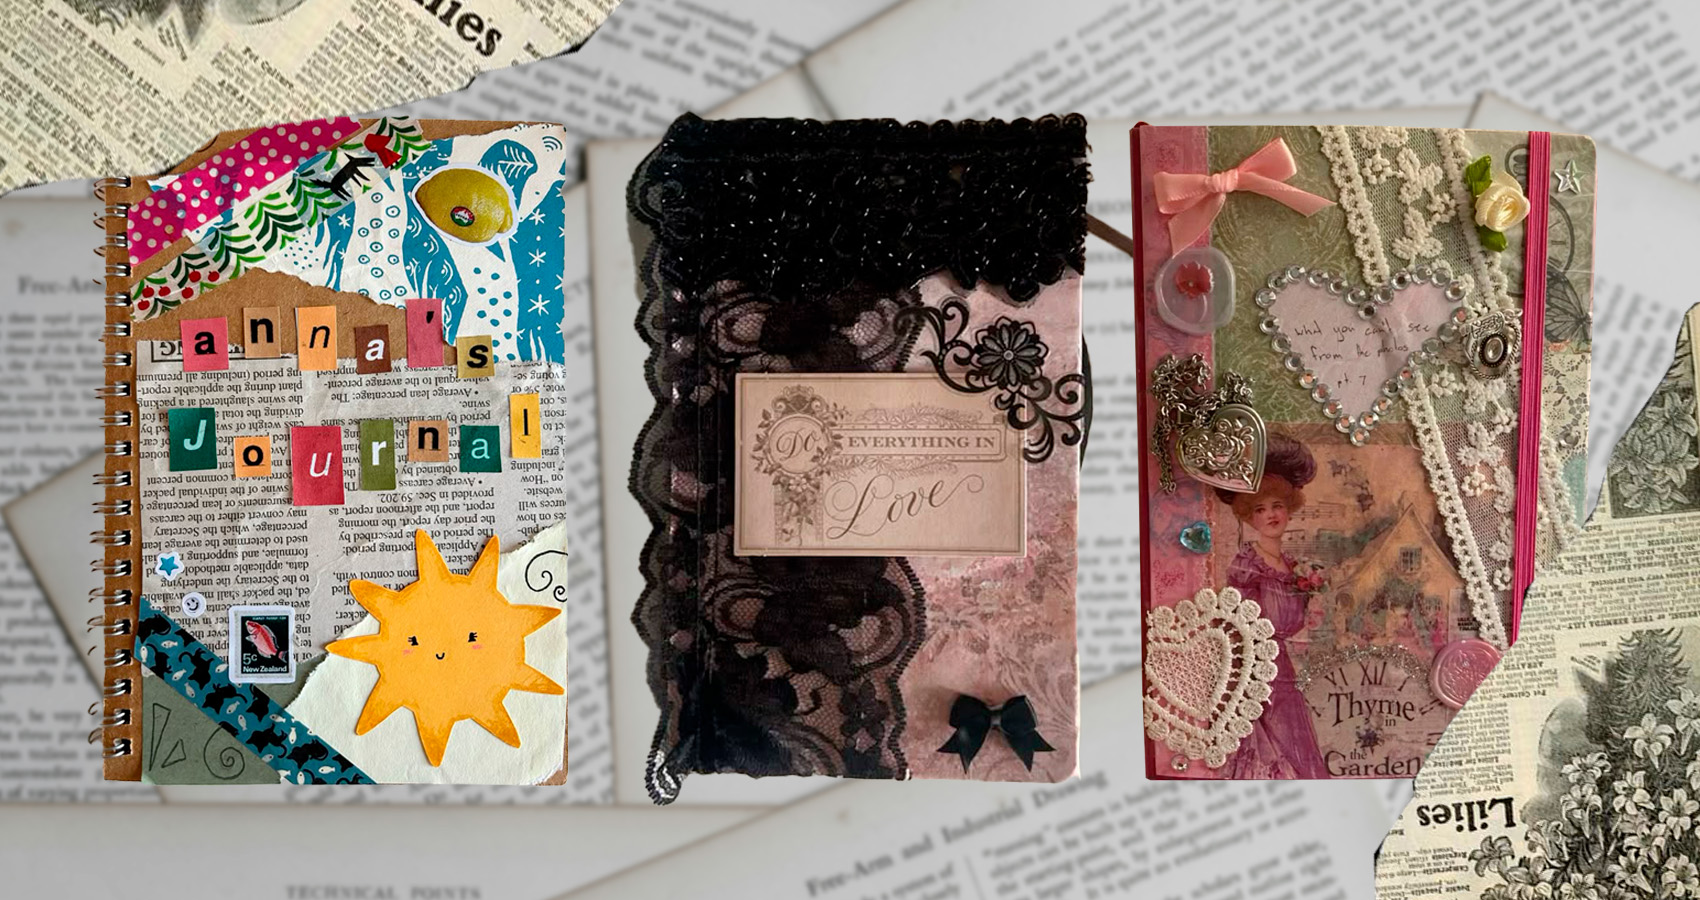
How to Make a Simple DIY Journal Cover
A good journal cover protects your pages and adds a decorative touch. Here’s how to make an easy and sturdy book cover for your DIY journal.
Materials Needed:
-Thick cardstock, kraft paper, or fabric-covered cardboard
-Scissors or a craft knife
-Glue or double-sided tape
-Decorative paper or fabric (optional)
Step-by-Step Instructions:
- Measure and Cut
- Measure your folded pages and cut a piece of cardstock slightly larger than the page size.
- For a hardcover, cut two cardboard pieces for the front and back and one thin strip for the spine.
- Cover the Cardstock or Cardboard (Optional)
- Wrap the cardstock or cardboard with decorative paper or fabric for a polished look.
- Glue the covering material securely and smooth out any wrinkles.
- Attach the Pages
- If using a simple cardstock cover, fold it around the pages and staple or sew through the center fold.
- For a hardcover, glue the first and last pages of the journal to the inside covers.
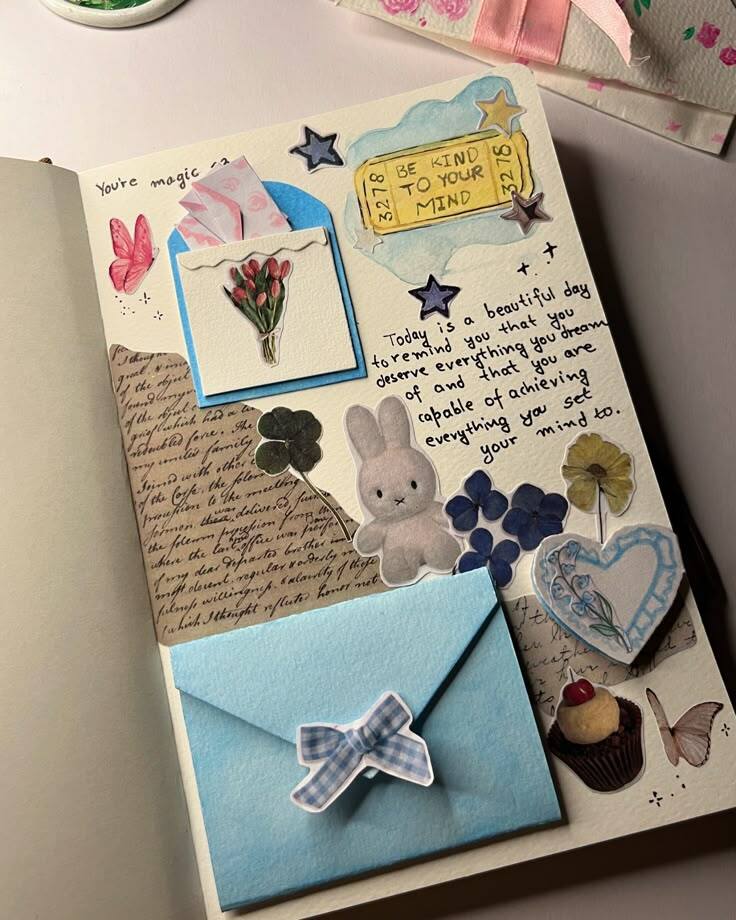
- Add Finishing Touches
- Round the corners, add stickers, or create a closure with an elastic band or ribbon for extra style.
With these easy paper folds and a simple book cover, you can create a beautiful DIY journal that’s perfect for personal use or as a thoughtful handmade gift. Get creative with colors, textures, and embellishments to make your journal truly unique!