Braids For Beginners: 4 Cool Braids That Are Actually Easy
(We promise)
Some braided hairstyles may look so unbelievably intricate that the only feasible explanation is witchcraft, but truth is, like most skills, the real secret is practice – although if someone actually has a hair-braiding spell to share with us, we're all ears. If you're reading this article, it's quite likely your last braiding attempt wasn't far off our painful collective memory of the '90s Crazy Braid, ending only in tears, spilled beads and an impossible ball of matted hair. Perhaps you ruined friendships this summer by taking that one hair-whizz of a mate one festival braid too far. Whatever it is, you've probably landed in the right place. We've put together three super-cool braided hairstyles that are actually easy (we promise). All you need is a set of transparent hair elastics, some bobby pins, a strong-hold hairspray, a hair brush and comb and some fucking patience – okay?
Milkmaid Braid
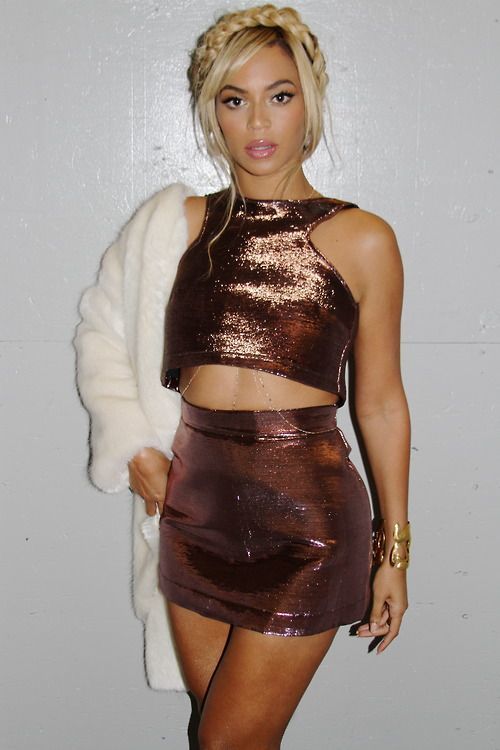 Image source: i.pinimg.com
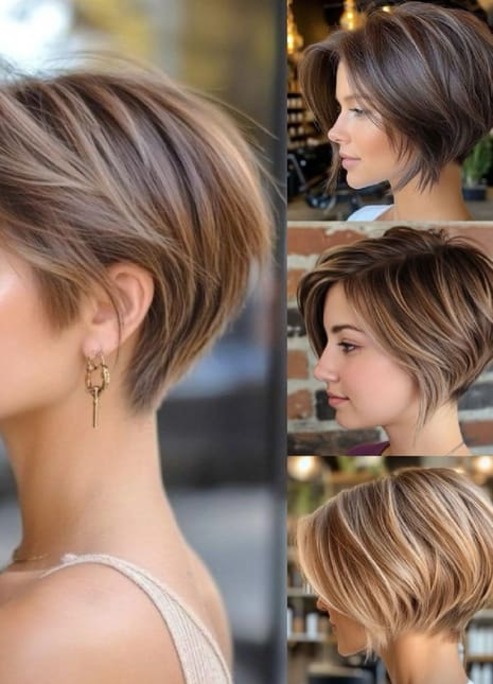
If you think this looks too fancy, think again. This pretty bohemian look is essentially just pigtails pinned to your head – really. The braided crown or “coronation style” was extremely popular in the '40s: sophisticated, practical and holding up for days without shampooing – there was no blush Batiste back in those days. Here, we're going for the fallen angel look: a worn-in halo with plenty of loose tendrils. State-the-obvious disclaimer: your hair should be long enough to wrap over your head.
-
Spray your hair with a texturizing spray – or start on second-day hair – and backcomb it a little around the crown to add a bit of volume.
-
Separate your hair into two main sections – you don't have to be precise here, sliding a finger down the back of your head will do.
-
Do the bog-standard three-strand braid on each section and secure at the ends with an elastic.
-
Wrap the first braid across the front of your head and secure with bobby pins, then pin the other braid just behind the first one, making sure to tuck the ends underneath to conceal them.
-
Tease the braids a bit to give a messy feel and pull out any pieces you want around your face, then finish with a mist of hairspray.
Front Braid
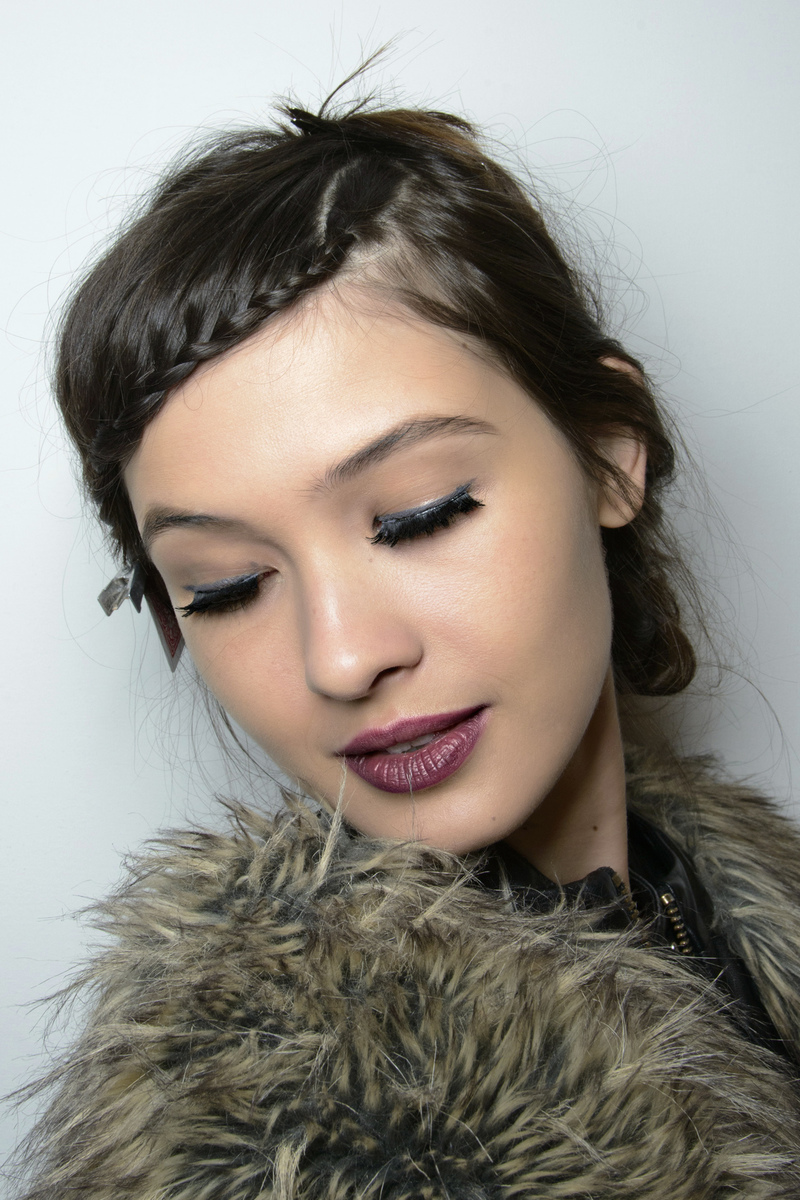 Image source: stylecaster.com
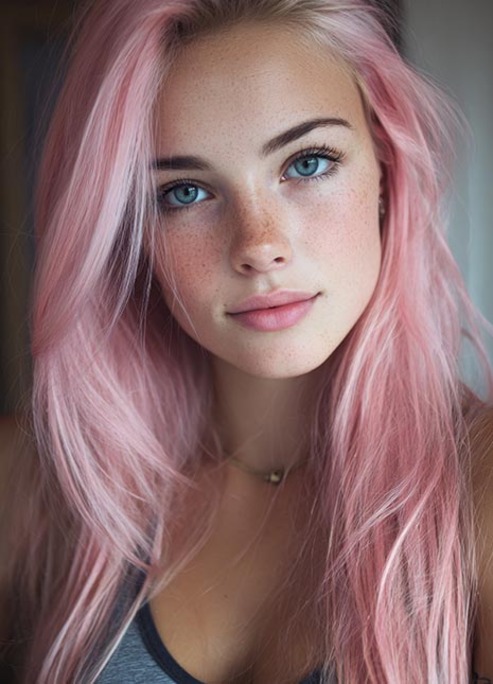
The front braid is really great for beginner braiders and it's also super versatile, perfect for hiding away your bangs, adding some romance to shorter hair, or dressing up a simple ponytail or bun. It's much easier than it looks!
-
Make a deep side parting in your bangs and separate the first inch of your bangs into three small sections.
-
Start weaving the sections over each other as if you were about to start a regular braid, doing one or two “passes” before pulling in a small piece from the back and starting off the french braid.
-
As you go, keep pulling in these small sections from next to the parting, and keep braiding all along the hairline until you reach your ear.
-
Either secure with a couple of bobby pins against your scalp or keep the braid going into a side braid.
-
Finish with a little hairspray.
Upside Down Braided Bun
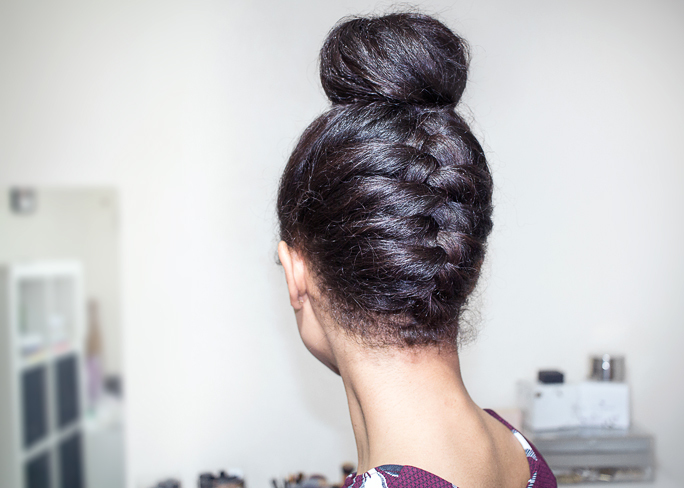 Image source: freshlengths.blogspot.de
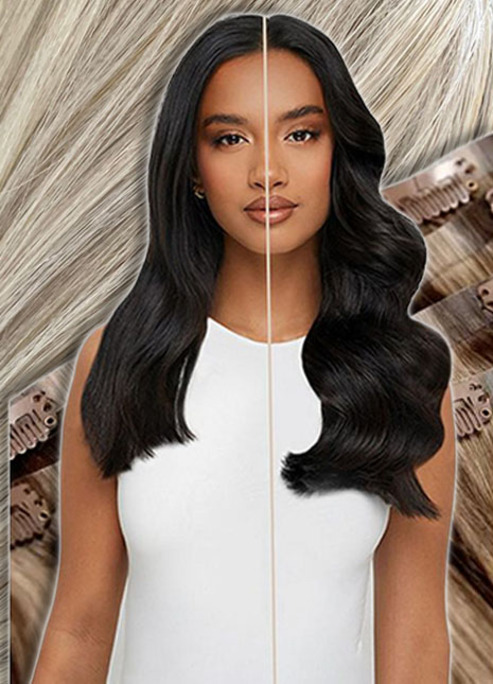
A simple way to dress up a topknot, and great for second-day hair, this upside down braid is super-easy. Simply flip your hair over and brush/comb to remove any tangles. Then, with your head still upside down:
-
Take a small section from closest to the nape of your neck and start a regular french braid, pulling in new sections as you work your way to the top of your head – again, this doesn't have to be at all precise.
-
Take all of the sections together and secure in a ponytail at the top of your head.
-
Wrap the hair around – if you like, you can add a hair donut for extra bun boostage – and secure into a topknot.
-
Finish with a mist of hairspray.
Dutch Braids
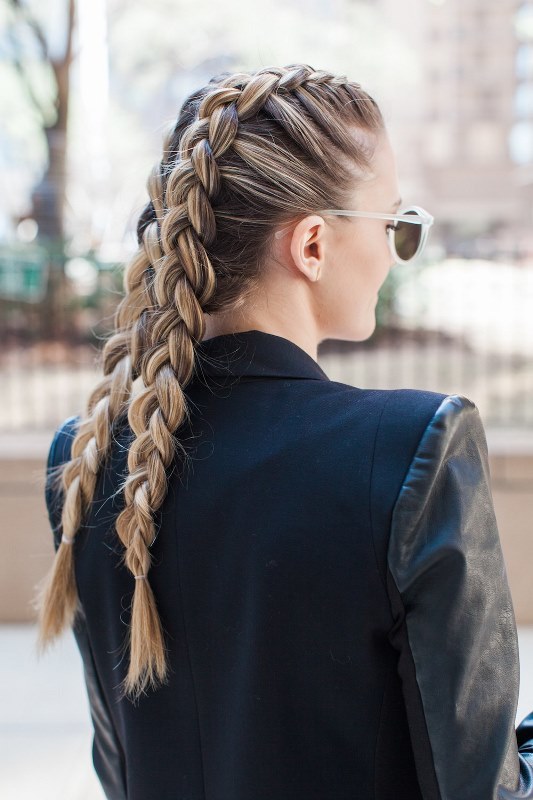
Image source: www.styleoholic.com
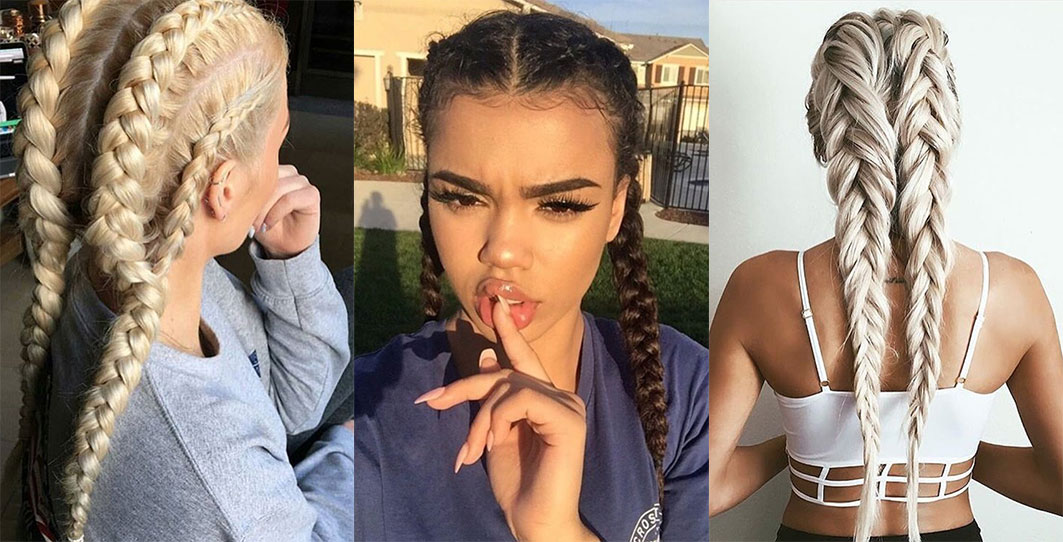
You didn't think we were gonna do a braids feature and not mention Dutch braids did you? Okay, the Dutch braid can get a little fiddly, but it really is easy when you can be bothered to put a bit of practice in. This classic style looks badass with streetwear, and you can easily add in some extensions – even colored extensions or ribbons – to get some extra length. If you're going for that super-tight look, we recommend starting with damp hair, or working through a wet product such as gel, mousse or leave-in conditioner – you can even buy special braid paste.
-
Use a comb to make a clean parting from your forehead to the nape of your neck. Pro tip: to make the perfect part, take a line directly from your nose and do it in one swoop. Then lift and twist one section and pin it out of the way.
-
With your hands above your head, rather than at the side, start with a tiny section at the forehead and begin the first braid, pulling in small pieces of hair from either side as you go. To keep it tight, keep your fingertips as close to the head as possible as you weave the sections under each other.
-
Keep going till you reach the bottom of your head and then continue into a regular braid to the ends before securing with a band. Repeat the process on the opposite side, tracking the same line you made with the first braid so that both sides look even.
-
Finish with hairspray.
Top image via Instagram @braidgoals